
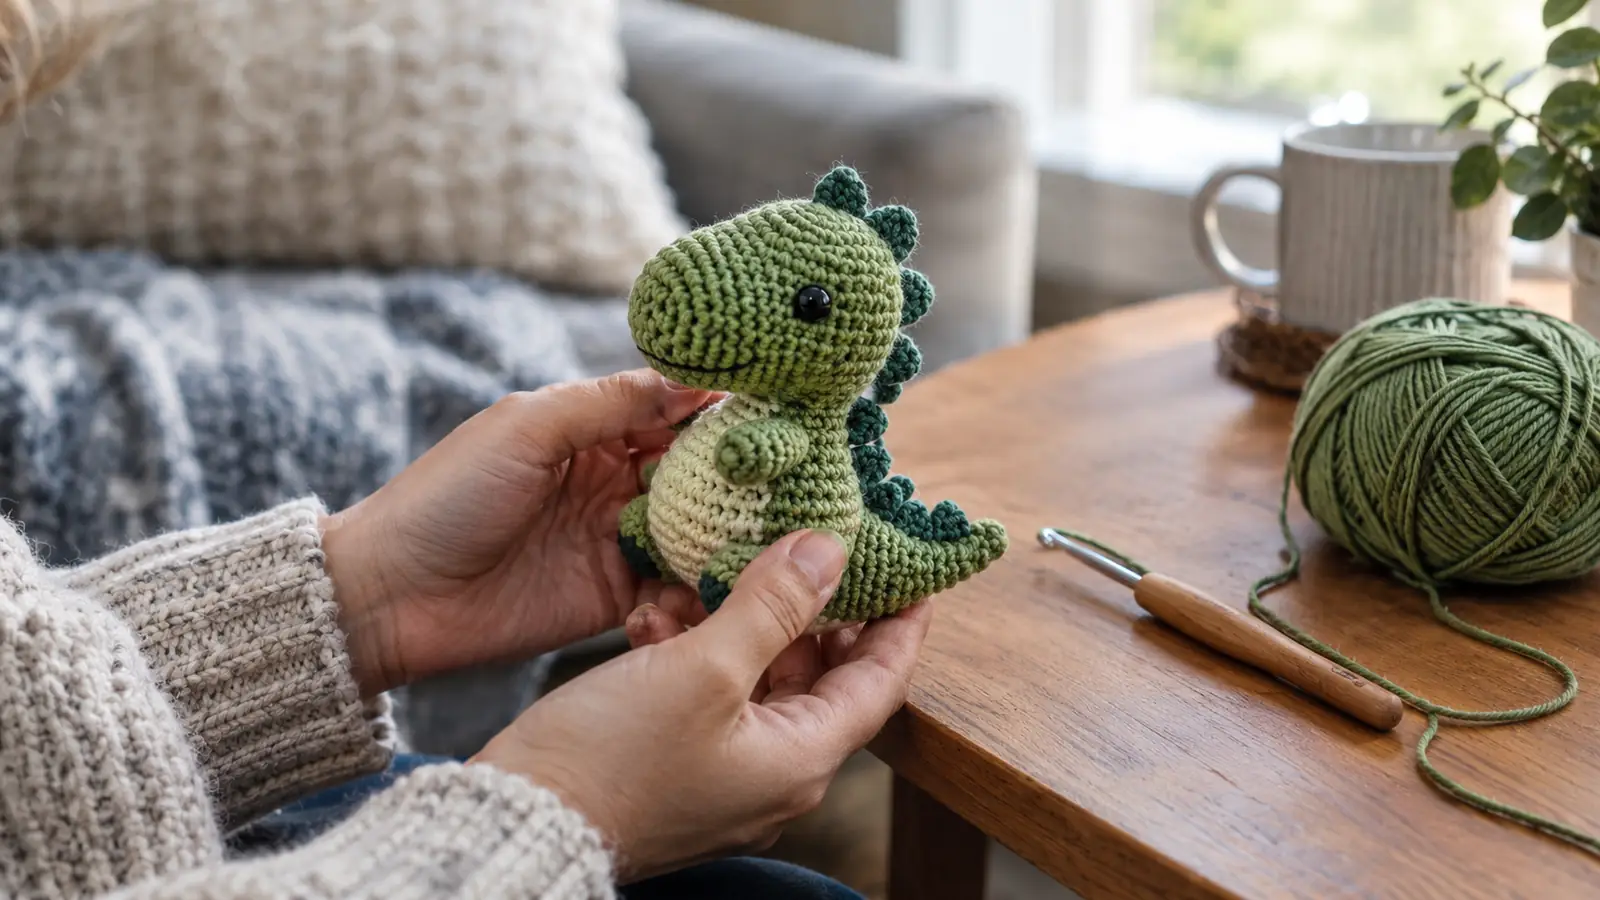
You have watched someone crochet a tiny dinosaur and thought, I could never do that. Then you watched another video and thought, maybe I could. That is exactly where I stood thirty years ago, except back then I had a slippery hook, a tangled skein, and nobody to tell me that the first row is supposed to look messy. If you are starting with The Woobles beginner kit, you already have the part most people never get: a package that assumes you know nothing and walks you through the rest.
I am Delphine, I have crocheted for about thirty years, and I still use beginner kits when I want to learn a new shape without guessing. The Woobles kit for Fred the Dinosaur is one of the few I would hand to a brand new crocheter without hovering. Here is the honest step by step, including the parts that tripped me up and what I would tell a friend sitting in my living room.
Start with the kit that teaches while you stitch
The Woobles beginner kit comes with the yarn, the hook, the stuffing, and the video lessons. You only bring the patience.
Amazon Check Today's Price on Amazon →Step 1: Set up your kit and your hands before you make a single stitch
Open the box somewhere with good light. The kit includes a small hook, the yarn for Fred the Dinosaur, a needle for the finishing work, and the stuffing. There is also a code for the video lessons. Do not skip the code. The videos are the reason this kit works for true beginners, because they show the hands, not just a diagram.
Sit in a chair where your elbows rest at your sides. I work in an armchair by the window with a side table, and I keep my wrists supported. If you have any hand stiffness, especially in the thumb, warm your hands first and take a break at the first sign of cramping. The hook in the kit is lightweight, which helps, but no hook fixes a hand that needs rest.
Before you start, find the tail end of the yarn. The Woobles yarn is a smooth cotton blend, so it does not split as easily as some fuzzy yarns. That matters more than you think when you are learning, because a splitting strand turns every stitch into a tiny fight.
That first evening I made the classic beginner mistake: I tried to learn from the printed sheet and ignored the videos. I spent twenty minutes making a chain that looked nothing like the example, then I put the hook down, played the first lesson, and saw my error in seconds. I was wrapping the yarn the wrong direction. The video does not just describe where the hook goes, it shows you, and seeing it once was worth more than reading the same sentence five times. After that I propped my phone against a mug on the side table and followed along, pausing after every few stitches.
I also paid attention to my hands, because I have mild arthritis in my right thumb joint and thirty years of crocheting has taught me which evenings end in a heating pad. The hook in this kit is light and the grip is soft, and I managed about forty minutes before my thumb asked for a break. That is a good sign. I stopped there, made tea, and came back the next evening. The ring and the first two rounds were done, and the kit was still waiting exactly where I left it.
Step 2: Learn the magic ring, the start of almost every amigurumi project
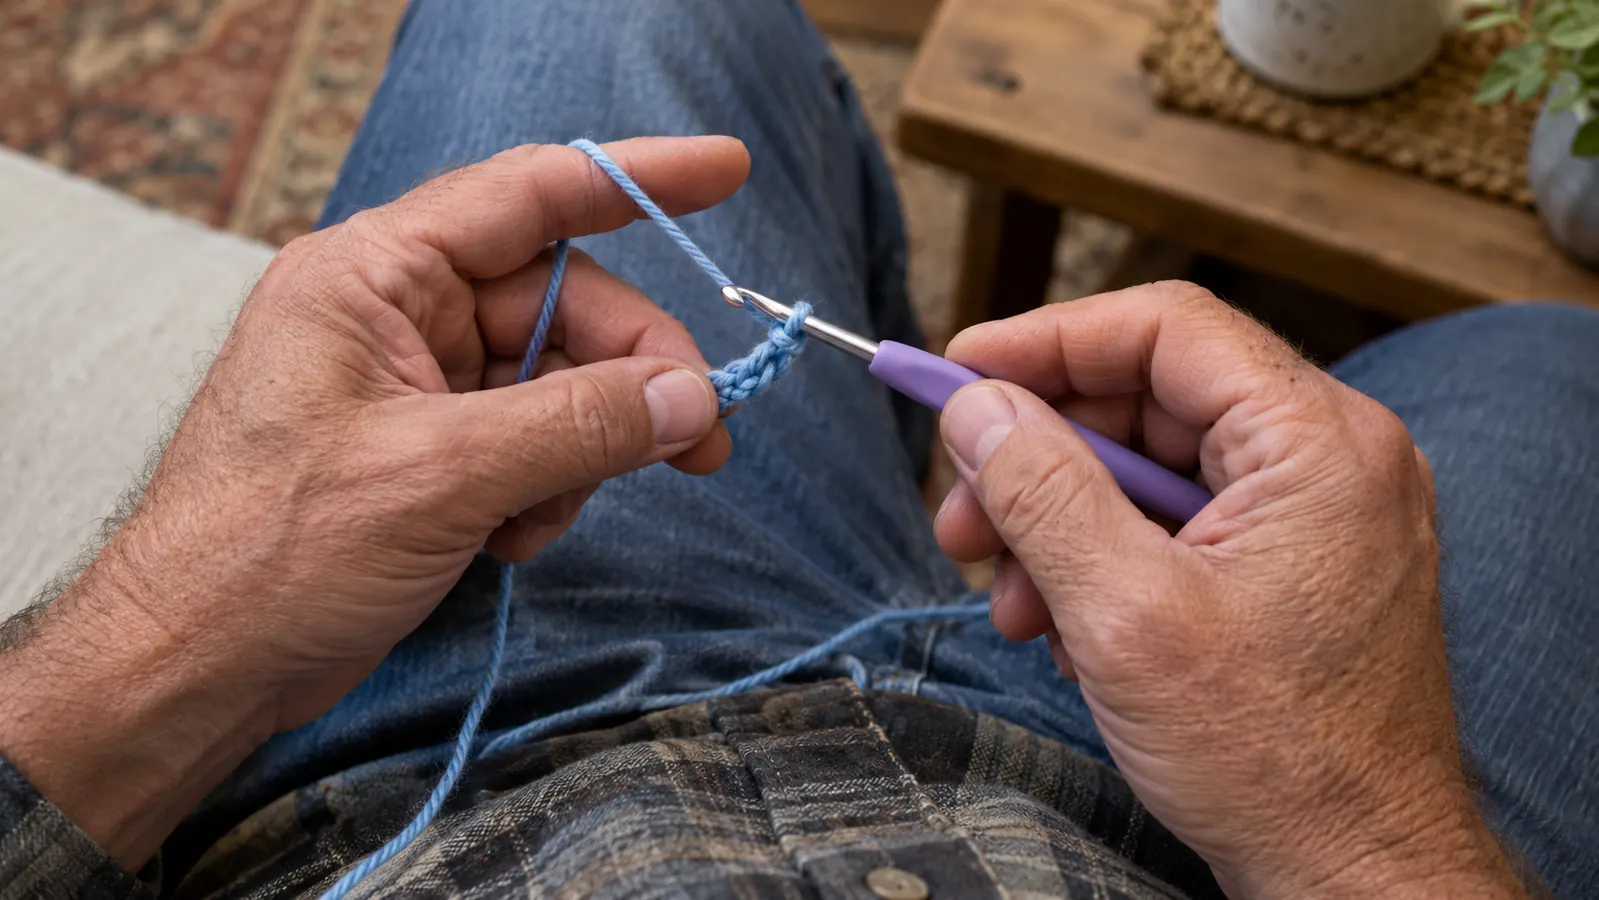
The first real skill in the kit is the magic ring. It is a loop of yarn that lets you crochet in the round without leaving a hole in the middle. The Woobles video shows it slowly, with a zoomed-in view. Follow along with your hook in hand, not just your eyes. Pause the video after each step. I have taught three friends this way and the ones who paused the video learned twice as fast.
If your ring looks lopsided, that is normal. The tension will even out as you work the next rounds. If it falls apart, pull the tail and start again. Everyone does this. I did it twice in a row on my first dinosaur and I have been crocheting for thirty years.
The kit's yarn has a bit of stretch, which makes the magic ring more forgiving. Stiffer yarns hold the loop but punish a loose grip. The Woobles blend sits in a sweet spot: it slides on the hook without slipping out of your fingers.
The magic ring took me three tries on that first evening, and I was not embarrassed, because I have taught enough beginners to know the ring is where most people quit. My first ring came undone the moment I pulled the tail. My second ring was so tight that I could barely fit the hook into the center. On the third try I made the loop bigger than felt correct, loosened my grip, and it worked. The ring shrinks as you work the first round into it, so a slightly loose start is the right start.
The other thing that helped was understanding what the magic ring actually is. It is a slip knot with a long tail, nothing more mysterious than that. Once I saw it that way, my hands relaxed, and relaxed hands make better loops. One of the friends I taught had never held a hook before, and she finished her ring on the second try after watching the video twice. She texted me a photo at nine o'clock at night, and I could see the loop was round and even. That is the moment the kit earns its keep.
Step 3: Work single crochet stitches into the ring, counting as you go
Once the ring is set, you work single crochet stitches into the center. The kit tells you how many stitches to make and the video shows where to insert the hook. Count out loud. Counting is not for people who are bad at math, it is for people who want the body to match the pattern. When I stopped counting, my dinosaur had a lump on one side.
The hook in the kit has a smooth shaft and a comfortable grip. For small hands or stiff thumbs, that grip is the difference between a pleasant evening and a sore one. If you already own a hook with a thicker ergonomic handle, you can swap it in. The stitch is the same, the handle is just a matter of comfort.
A note on tension: beginners tend to grip the yarn too tightly. Loosen your hand between stitches. The Woobles yarn is forgiving, but a death grip makes the fabric stiff and hard to work into on the next round. Think of holding the yarn like you would hold a sleeping cat: firm enough to keep it, gentle enough not to wake it.
Counting out loud felt silly for the first ten minutes, so I tried counting in my head. That failed. By round four I was off by two stitches, and the little tube had a ripple along one side. I pulled the round out and started again, this time saying the numbers under my breath the way I count rows on an afghan. The kit's pattern tells you exactly how many stitches belong in each round, and the numbers are small enough to hold in your head, but only if you actually say them.
When I pulled out that ripple, I was glad the yarn is smooth enough to unravel cleanly. Frogging, which is just unravelling your work, is not a failure, and with the kit's cotton blend the strand comes out looking the same as it did from the package. I have frogged fuzzy yarns before and watched them come out tired and fuzzy, which makes you less willing to fix a mistake. This yarn survived two unravels without a mark, and that forgiving quality is exactly what a beginner needs on the third evening of a new hobby.
Step 4: Follow the color changes and the shaping, one round at a time
Fred the Dinosaur has a few color changes and some shaping that makes the body, the head, and the little legs. The kit separates the yarn into the colors you need, which removes the hardest part of a multi-color project: figuring out where each color goes. You just follow the round.
When the pattern says to change color, make the last stitch of the old color with the new color. That sounds backwards but it is the trick that keeps the line clean. The Woobles video calls this out, which I appreciate, because most written patterns assume you already know it.
Stuffing comes later, so the pieces will look like small empty tubes for a while. Do not judge the project at this stage. Every amigurumi looks like a sad noodle before it is stuffed. The transformation happens at the end, and it is worth waiting for.
Step 5: Stuff, sew, and finish Fred so he actually looks like a dinosaur
The finishing steps are where most beginners give up, because the piece is so close to done that the remaining work feels like a chore. Push through this part. The kit includes the needle and the video shows the exact stitches for closing the opening and attaching the head and legs. Follow the video and do not rush.
Stuff the body firmly but not to the point of stretching the stitches. You want Fred to hold his shape without showing gaps between the stitches. If you overstuff, the yarn stretches and the fabric looks thin. If you understuff, he flops. The sweet spot is a firm squeeze, like a ripe avocado.
When you sew the head to the body, use the yarn tails the pattern tells you to save. Weave the needle through the stitches, not through the stuffing. Pull gently. The first seam may look obvious; that is fine. You will make another one someday and it will look neater. This one is proof that you finished.
I finished Fred on a Sunday afternoon, with Stormy asleep on the rug beside my chair and the cats watching from the windowsill. The sewing took longer than the crocheting, which surprised me, because the crocheting had taken three evenings. Closing the opening and attaching the head and legs is fiddly work, and my thumb complained more during the sewing than during the stitching. I took two breaks, made a cup of tea, and came back to it both times. The video shows the seam being pulled snug, and that visual is worth more than a page of written instructions.
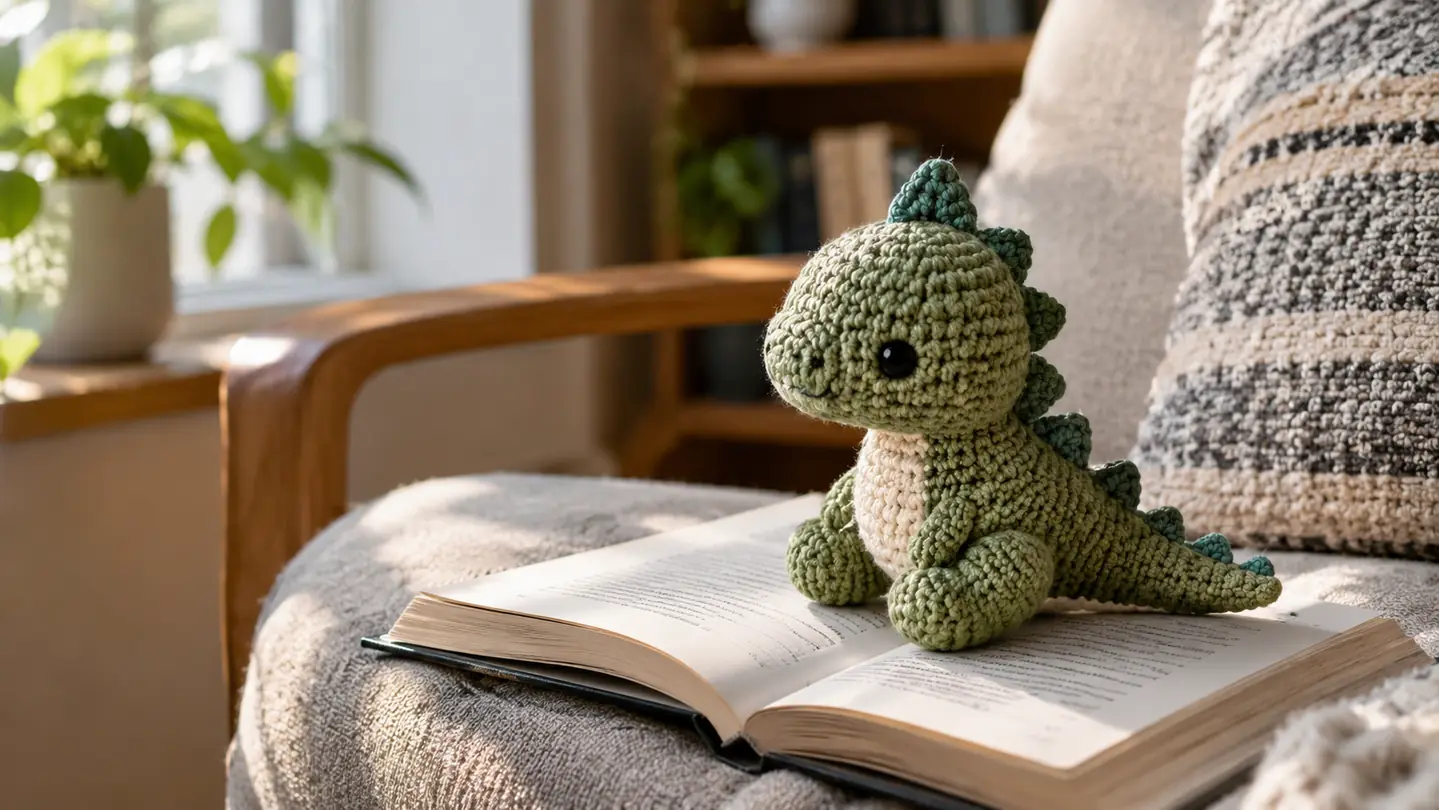
When Fred was done, I set him on the side table and just looked at him. He is not perfect. One leg sits a little higher than the other, and the seam at the back of his head is visible if you look closely. None of that matters. I started with a loop of yarn and a hook and ended with a small dinosaur with a face, and after thirty years of crocheting, that moment still does not get old. I have made dozens of amigurumi animals over the years, and every one of them sits on a shelf in my living room, lopsided bits and all. The lopsided ones are the ones I remember best.
What Else Helps
A few things make the whole process smoother. Use a stitch marker or a scrap of contrasting yarn to mark the start of each round, because amigurumi spirals do not have an obvious beginning. Keep your yarn in a bowl or a bag so the cats do not adopt it as a toy. I speak from experience: my two cats, Romeo and Juliette, will steal a loose strand faster than I can reach for it. And if your hands ache, stop for the evening. The kit will still be there tomorrow. For hand pain that does not go away, see a doctor or hand therapist. I am not one, and I do not pretend to be.
The Woobles kit assumes you know nothing and walks you through the rest, which is exactly what a true beginner needs.
Give yourself an evening with Fred and a hook
The Woobles beginner kit includes the yarn, the hook, the stuffing, and the video lessons. All you add is a quiet chair and a little patience.
Amazon Check Today's Price on Amazon →