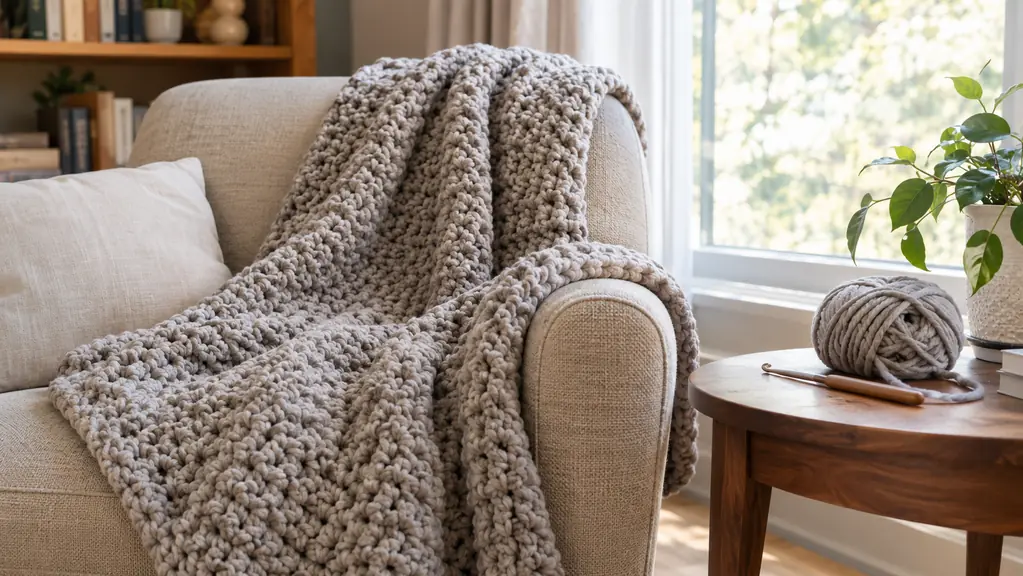
If you have ever started a blanket with worsted weight yarn and lost interest by row forty, I understand. I have been crocheting for about thirty years, and my living room is full of half-finished projects I abandoned because they were taking too long. The fix was not more patience. It was thicker yarn.
A chunky blanket works up in a weekend instead of a month, and the right bulky yarn makes the stitches look good even when your hands are tired. I have made three of these blankets in the last year with Lion Brand Yarn Wool-Ease Thick and Quick, and I want to walk you through the exact steps I use. This is not a pattern with fancy stitches. It is the plain, repeatable process that finally got me to finish.
Start with a yarn that does not fight you
Lion Brand Yarn Wool-Ease Thick and Quick is soft, bulky, and easy to see while you work. It is the yarn I reach for when I want a blanket that actually gets finished.
Amazon Check Today's Price on Amazon →Step 1: Choose your yarn and hook
The first decision is yarn weight. Bulky weight yarn, sometimes called a 5 on the yarn weight scale, is thick enough to build height quickly but not so thick that it feels like rope. Lion Brand Yarn Wool-Ease Thick and Quick is a blend of wool and acrylic that keeps its shape and does not pill the way some soft yarns do. It comes in a three pack, which is convenient because a throw blanket eats up more yarn than you expect.
You also need the right hook. For this yarn I use a size N/P (10 mm) hook. That is the size printed on the yarn label, and it gives you a drape that is soft rather than stiff. If you hold your hook tight, like I do, look for a hook with a comfortable grip. My right thumb joint gets sore with thin metal hooks, so I use a hook with a padded handle. That is a personal choice, not a rule.
Before you buy anything, check the yardage on the label and decide how big you want the blanket. A lap throw about 48 by 60 inches takes roughly three to four skeins of this yarn. A larger couch blanket takes more. Buy the three pack and you have a good starting point, but do not be surprised if you need to pick up an extra skein or two.
One thing I learned the hard way: buy all your yarn at the same time. Dye lots vary slightly between batches, and nothing looks worse than a blanket with one stripe that does not quite match. With a three pack you are set for a small project. For a bigger one, buy enough from the start.
If you are new to crochet, do not let the word bulky scare you. This yarn is thick, but it is also forgiving. Stitches are easy to see, and mistakes are easy to find. That is a big deal when you are learning. I watched a beginner at my yarn circle use a bulky yarn like this, and she finished her first scarf in two evenings.
Step 2: Make a gauge swatch
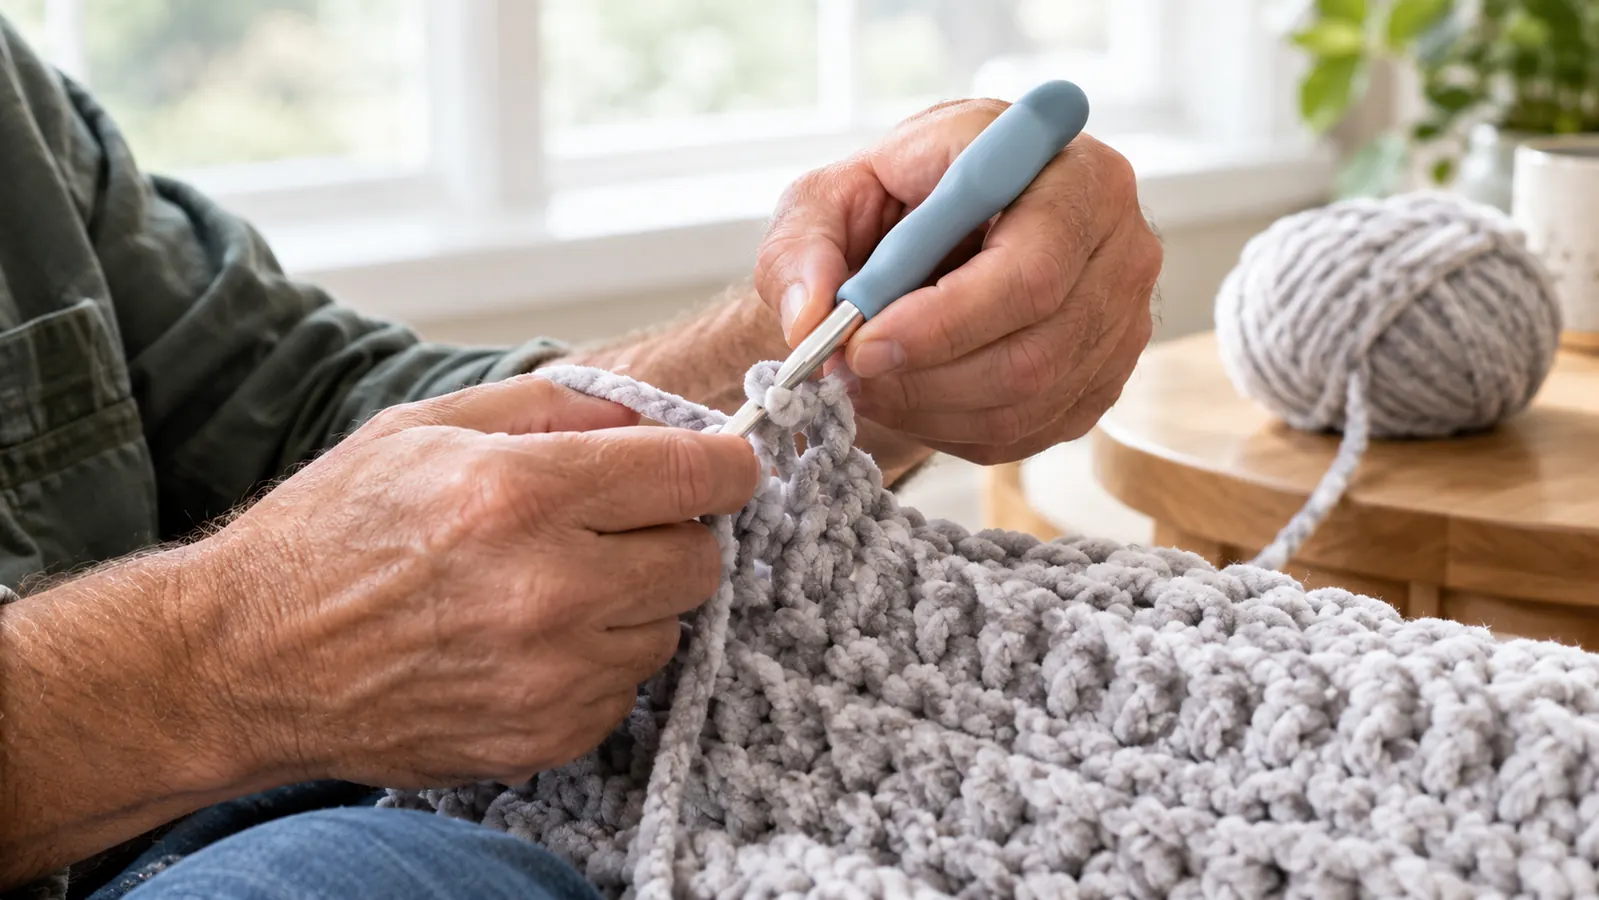
I know, nobody wants to make a swatch. I skipped it for years and my first blanket came out lopsided. A gauge swatch is a small square, about six by six inches, worked in the same stitch you plan to use. It tells you how many stitches and rows you get per inch with your hook and your tension.
To make one, chain about 16 stitches with your bulky yarn and work rows of your chosen stitch until the square is roughly square. Then lay it flat and measure. Count the stitches across the middle four inches and divide by four. Do the same for rows. Write those numbers down because you will use them to figure out your starting chain.
Your gauge does not have to match mine. Everyone holds yarn differently. The point is to know your own numbers before you commit to a full blanket. If your swatch is looser than the label says, your blanket will be bigger than you planned. If it is tighter, it will be smaller. That is exactly the kind of surprise you want to catch on a six inch square, not on a 48 inch blanket.
Step 3: Start the foundation chain and first row
Now that you know your gauge, you can figure out how many chains you need. Multiply the width you want by your stitches per inch. For a 48 inch wide blanket at two and a half stitches per inch, that is about 120 chains. Add a couple extra chains for the turning chain, then chain loosely. A tight foundation chain is the most common reason a blanket pulls in at the bottom.
Work your first row into that foundation chain using the stitch you chose. I like the half double crochet for a chunky blanket because it is quick and it makes a dense, warm fabric. If you prefer a looser drape, the double crochet works too. The important thing is to keep the same stitch through the whole blanket so the edges stay straight.
When you finish the first row, count your stitches. Fix mistakes now. It is much easier to rip out one row than to discover at row thirty that you lost three stitches somewhere. I keep a small notebook with my gauge and my starting chain count, because I never remember them from one project to the next.
A word about tension: try to keep the same looseness in every row. If you crochet tight when you are frustrated and loose when you are relaxed, the blanket will have wavy spots. I take a breath before I start each row and remind myself to let the yarn glide. It sounds small, but it makes the finished fabric look even.
Step 4: Work the body stitch pattern
This is the part that is both the most boring and the most important. Chain one at the end of each row, turn your work, and repeat the same stitch across. I put on a show or an audiobook and let the rhythm take over. With bulky yarn, each row is short enough that you see progress quickly, which is what keeps me going.
If you want a little texture without learning anything complicated, try working in the back loop only for every few rows. It creates a subtle ridge that looks intentional. Or keep it simple with plain half double crochet. Simple is fine. A finished simple blanket is better than an abandoned complicated one.
Every few rows, lay the blanket flat and check that the edges are not curling or pulling. If the edge starts to curve inward, you are probably dropping stitches. If it flares out, you are adding stitches. Count a row once in a while to catch it early. I count every ten rows, and it takes less than a minute.
Do not be afraid to rip out a section. I have pulled out whole rows when the tension felt off. With a bulky yarn like Lion Brand Yarn Wool-Ease Thick and Quick, the yarn holds up to being reused, so you are not wasting material. You are just fixing your work before it becomes a problem.
If you are making a blanket as a gift, keep the recipient in mind while you work. I made one for a friend in a stitch she would like, and I thought about her every time I picked it up. That sounds sentimental, but it is also practical. It kept me going through the middle rows, which is exactly when most blankets get abandoned.
Step 5: Finish with a border and weave in ends
When your blanket reaches the length you want, do not just tie off and call it done. The edges will roll and look unfinished. I add a simple border of single crochet around the whole blanket. Work a single crochet in each stitch across the top and bottom, and two or three single crochets in each corner to keep the corners flat.
Weave in your ends with a yarn needle. I leave tails of about six inches and weave them back through the wrong side of the same color yarn. Do not rush this. A blanket with loose ends will not survive the wash, and you will be annoyed every time a tail pokes out.
Lion Brand Yarn Wool-Ease Thick and Quick is machine washable, which matters when you have pets. My Afghan hound, Stormy, likes to lie on anything I leave on the couch. I wash finished blankets on a gentle cycle in cold water and lay them flat to dry, and they hold up well.
If you want a thicker edge, you can do a second round of single crochet or a crab stitch border. I keep it simple for my own blankets. The border is there to stop the rolling, not to steal attention from the body of the blanket.
Once the border is done, give the blanket a final check. Lay it flat and smooth out any bumps. If you used a wool blend, you can gently steam it with an iron on a low setting, but I usually skip that step and just let it relax on the bed for a day. The yarn settles, and the stitches even out on their own.
What Else Helps
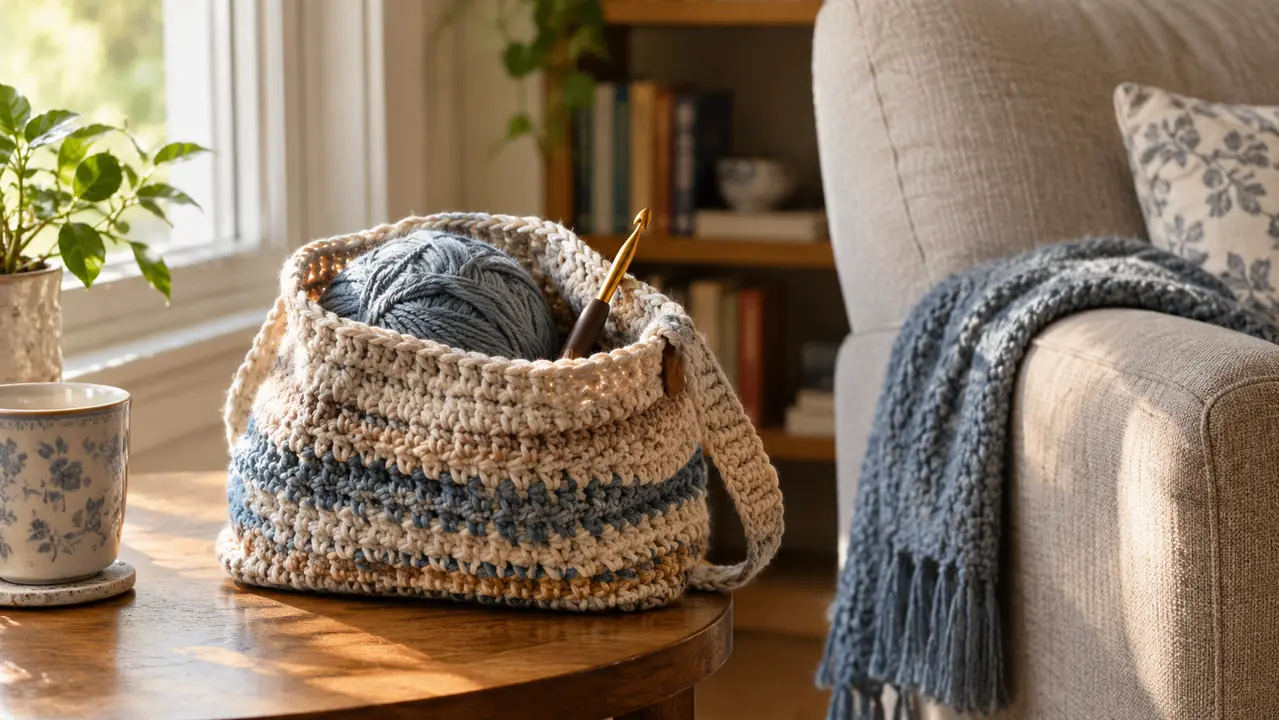
A few tools make the whole process easier. A yarn winder or a simple center-pull ball keeps the yarn from tangling while you work. I keep my yarn in a project bag with a small hole for the strand to come out, so the cats do not turn the whole skein into a toy. My two cats, Romeo and Juliette, will chase loose yarn, so I close the bag when I step away.
A stitch marker every twenty stitches is a cheap way to keep count. I use a piece of contrasting yarn, but you can use plastic markers. And if your hands start to ache, stop and rest them. I have mild arthritis in my right thumb, so I take breaks and stretch. If pain does not go away, see a doctor or hand therapist. I am not a medical professional, so listen to your body and get real advice if you need it.
Finally, give yourself permission to make a small blanket first. A baby blanket or a lap throw is a much better first project than a king size bedspread. You will finish it, you will learn the rhythm, and then the bigger blanket will not feel so intimidating.
Keep your project somewhere you will see it. I work in an armchair by the living room window, with my yarn on a side table. When the blanket is in sight, I am more likely to pick it up for a few rows while I watch the evening news. The best tool for finishing a blanket is having it where you actually sit.
One more thing: write down what you did. I keep a small notebook with the yarn name, the hook size, and the stitch I used for each blanket. The next time you want to make a matching one, you will not have to guess. Future you will be grateful.
A finished simple blanket is better than an abandoned complicated one.
Make a blanket you will actually finish
Lion Brand Yarn Wool-Ease Thick and Quick is the bulky yarn I keep coming back to for chunky blankets. It is soft, easy to see, and machine washable. Grab a three pack and start your own weekend blanket.
Amazon Check Today's Price on Amazon →