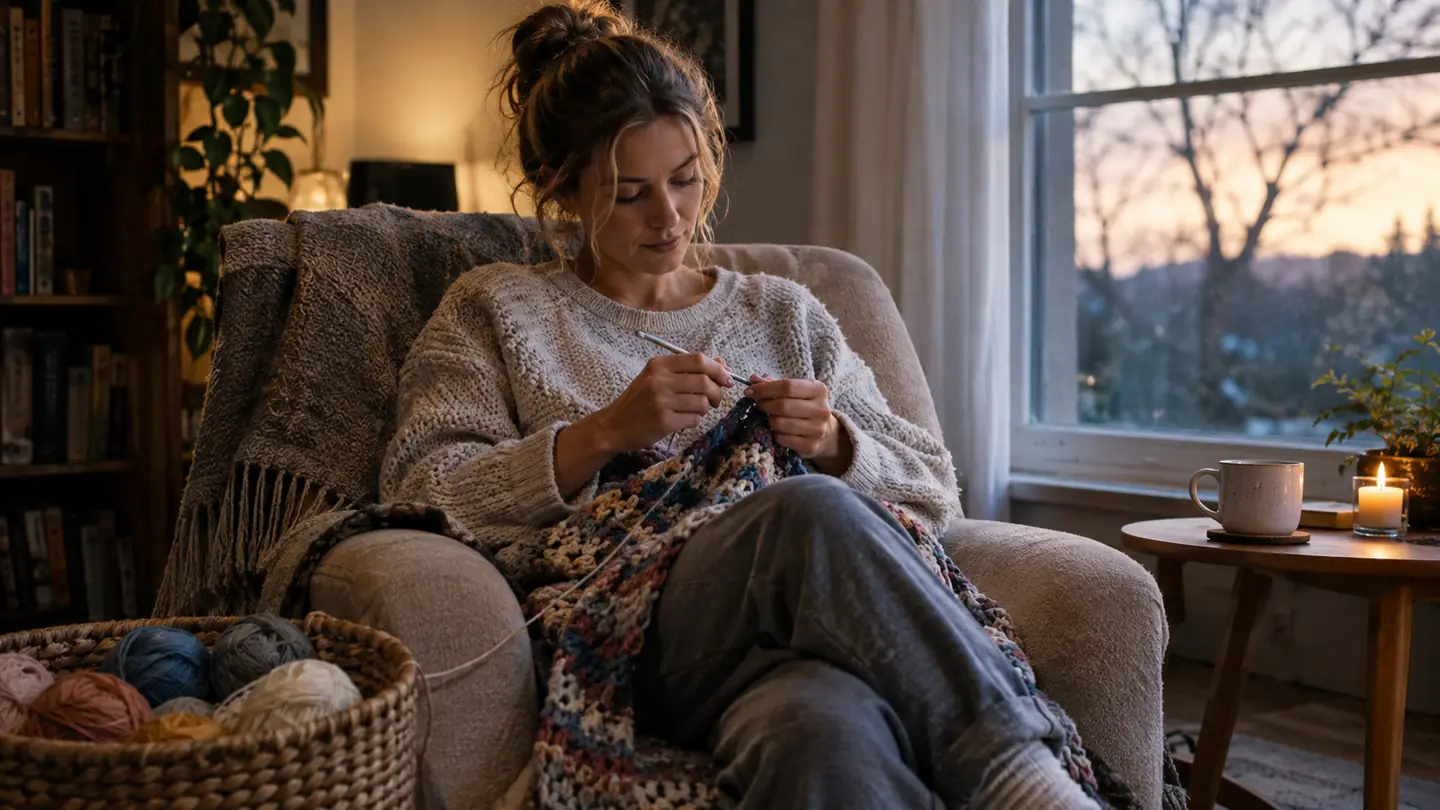
If your hands ache after twenty minutes with a hook, you already know what I mean. You love the rows, the rhythm, the way a blanket grows in your lap. Then the thumb starts to complain, and you put the work down for a week. I have crocheted for about thirty years, and for the last few my right thumb joint has had a say in how long I can go. Mild arthritis, my doctor calls it. Some days it is just a dull reminder. Other days it is enough to make me switch to a bigger hook and a looser stitch.
I tried a lot of workarounds before I found what actually helps. I tried thicker grips I made myself, I tried holding the hook differently, I tried taking more breaks. All of that helped a little. What helped the most was switching to a set of ergonomic hooks with soft, padded handles. The Yarniss 20 size crochet hooks, 0.5mm to 10mm, are the ones that stayed in my basket. This article is about how I use them, step by step, so you can find a rhythm that keeps your hands happier.
Start with a hook that fits your hand
The Yarniss set covers every size you will need, and the padded handle makes the biggest difference for a sore thumb. See today's price on Amazon.
Amazon Check Today's Price on Amazon →Step 1: Choose the right size hook for your yarn
The first mistake I made was grabbing the hook the pattern called for without thinking about my hands. A pattern for worsted weight yarn usually says a 5mm or 5.5mm hook. That is a good starting place. But if your hands hurt, you can often go up one size and the fabric will still look fine, just a little drapier. Looser stitches take less force to make.
With the Yarniss set, every size from 0.5mm to 10mm is right there in one case. I keep the case on my side table. When I start a project, I pull out two or three hooks close to the recommended size and I test a few rows with each. The one that lets me crochet without gripping hard is the one I use. For a worsted weight blanket, that usually means 5.5mm or 6mm for me.
Start with a gauge swatch. Make a small square, about four inches, and see how your hand feels after it. If your thumb is already complaining by the end of the swatch, go up a size or change your grip. The goal is to finish a project, not to prove you can power through a sore joint.
Step 2: Hold the hook the way that suits your hand
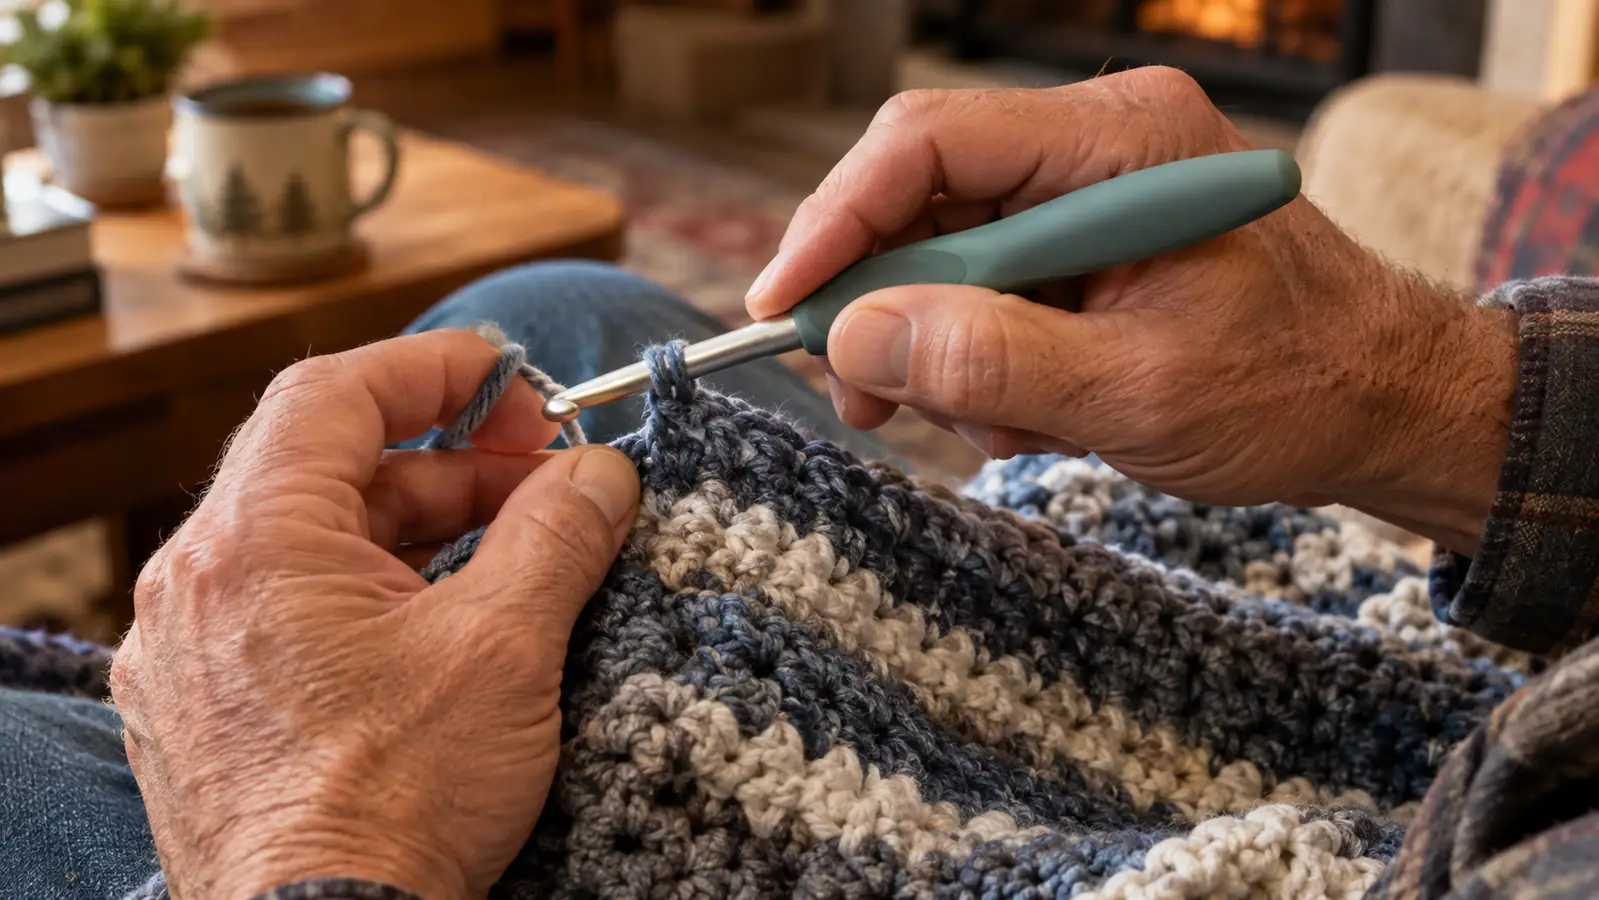
Ergonomic hooks only help if you actually let them do their job. The Yarniss handles have a soft, padded grip that fills your palm more than a plain metal hook. That means you can hold the hook loosely and still keep control. I had to unlearn my old death grip. For the first few evenings I kept catching myself squeezing.
Try the pencil grip and the knife grip. Hold the hook in your right hand the way you would hold a pencil, then try the way you would hold a knife. Most crocheters have a preference. With a padded handle, the knife grip is usually more comfortable for me because the handle rests in my palm instead of pinching between my fingers. But you should try both and see which one makes your thumb relax.
Pay attention to your thumb. The whole point of an ergonomic handle is that the work moves to your larger hand muscles instead of your thumb joint. If you still feel pressure right at the base of your thumb, loosen your hold and let the hook sit deeper in your hand. It feels strange for a day or two. Then it becomes your new normal.
Step 3: Ease up on tension and let the hook do the work
The biggest change for me was tension. I used to pull each loop snug, then pull the next one snug, and by the end of a row my hand was tired. With a smooth ergonomic hook, the yarn slides more easily, so you do not need to tug as hard. Let the hook guide the yarn and keep your stitches a little looser than you think they should be.
Check your gauge after a few rows. If your stitches are too loose, the fabric will look uneven and the blanket will be bigger than the pattern says. That is easy to fix: go down a hook size or tighten your yarn hand slightly. The point is to find the middle place where the hook moves smoothly and your hand stays relaxed.
One thing that helped me was slowing down. I used to crochet fast, especially in the evening when I wanted to see progress. Now I let the hook do a little more of the work and I do not force the rhythm. A finished blanket a week later is still a finished blanket.
Step 4: Take real breaks and stretch your hands
Even with the right hook, your hands need breaks. I set a timer on my phone for twenty minutes. When it goes off, I put the work down, stretch my fingers gently, and give my thumb a rest. Sometimes I just close my hand into a loose fist and open it slowly, ten times. That takes less than a minute and it makes a difference.
Your hands also need breaks between projects. If I crochet every single night, my thumb lets me know. If I alternate crochet nights with reading or watching something, I can keep going for months without a bad flare. The Yarniss hooks help with the grip, but they do not replace rest.
Do not ignore sharp pain. A dull ache after a long session is one thing. A sharp pain that gets worse as you go is a sign to stop. If your hands hurt that way, or if the pain does not settle down after a few days of rest, talk to a doctor or a hand therapist. I am not a medical professional. I am just someone who has learned to listen to her own hands.
Step 5: Match the hook to the project and the yarn
One set of hooks means you can match the tool to the job. For a thick chenille blanket, I use a 9mm or 10mm hook. For a cotton dishcloth, I use a 4.5mm or 5mm. For amigurumi, I go down to 2.5mm or 3mm. With the Yarniss set, I do not have to hunt for the right hook. It is in the case, labeled and ready.
The weight of the hook matters too. A lighter hook is easier on your wrist for long sessions. The Yarniss handles are not heavy, and the padded grip means you are not squeezing a thin piece of metal. If you are making something with a lot of stitches, like a lacy throw, the lighter touch matters more.
Keep the hook you are not using nearby. I often switch between a 5mm and a 5.5mm in the same project, depending on how my hand feels that evening. Having the whole set on the side table means I can switch without getting up. That small thing has saved more projects than I can count.
What to Look For in an Ergonomic Hook
If you are comparing options, the handle is the part that matters. A good ergonomic handle is soft enough to cushion your palm but firm enough that you are not squeezing a squishy tube. It should fill your hand so your fingers do not have to curl around a thin shaft. The Yarniss handles do this well, and the set covers the sizes you will actually use.
The hook itself should be smooth where the yarn moves. A rough spot or a seam can catch the yarn and make you pull harder, which is exactly what your thumb does not need. I have used metal hooks that were perfectly fine, but the padded handle is what makes the Yarniss set different for me.
What Else Helps
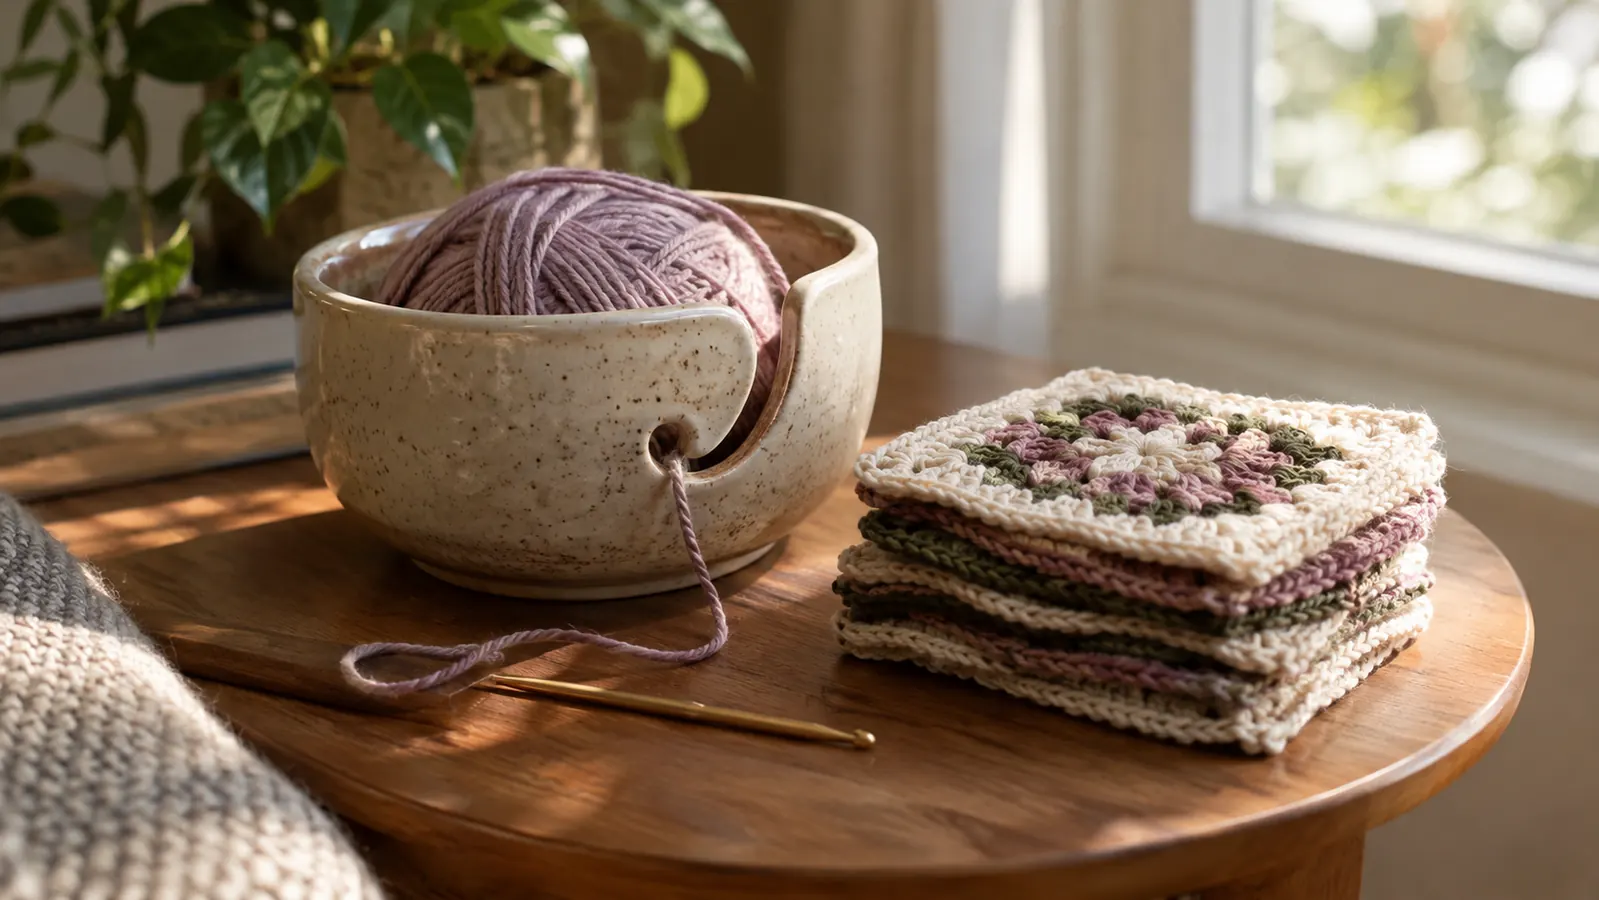
Ergonomic hooks are the biggest part of the fix, but they are not the only part. A good yarn bowl keeps the yarn from tangling and stops the cats from treating it like a toy. A comfortable chair with armrests helps your shoulders, which helps your hands. And a project that is not too tight, like a simple granny square blanket, gives your hands a break from complicated stitches. I also keep a small pillow on my lap so the work sits higher and I do not hunch over the hook.
Lighting matters more than I expected. I crochet in the evening by the window, and when the light goes, I find myself hunching and gripping harder without noticing. A small lamp aimed at your work makes a real difference. You cannot fix arthritis with a lamp, but you can stop making it worse with bad posture.
The yarn itself can help. A smooth, slightly slippery yarn moves over the hook more easily than a fuzzy one. That means less tugging. I save the textured yarns for short projects and use smoother yarn for the long blankets. It is not a rule, just something I noticed after a few evenings of sore hands.
One more thing: keep your project bag ready before you sit down. When I have to get up to find scissors or a stitch marker, I come back and I am hunched again. A few minutes of setup saves your hands a lot of extra work.
The right hook is the one that lets you crochet for an hour without your thumb staging a protest.
What I'd Tell a Friend
If we were sitting at my kitchen table and you told me your hands hurt when you crochet, I would say this: try a bigger hook, loosen your grip, and give an ergonomic set a real chance. Not for one evening. For a week. The first night feels different, the second night feels normal, and by the third night you stop thinking about your hands and start thinking about the blanket again.
I would also tell you not to buy the cheapest hook you can find. A flimsy handle that does not fill your palm is just a metal hook with a bit of foam. The Yarniss set is not expensive, and it covers every size, which means you are never stuck using the wrong tool because it is all you have. That is worth a lot when your hands are the ones paying for it.
And if you are just starting out, do not worry about the fancy stitches. A row of double crochet in a soft yarn will teach you more about your hands than any complicated pattern. The point is to enjoy the making. When your hands are comfortable, the project stops being a chore and starts being the best part of your evening.
Give your hands a fair chance
If you are tired of putting down projects because your hands hurt, an ergonomic hook set is the easiest change you can make. The Yarniss set covers every size you will need. See today's price on Amazon.
Amazon Check Today's Price on Amazon →